
Training Modules
HomeCall Centre Application
Issuance Portal
Health Care Professional Portal
Administration Portal
Generating Synthetic Data
Unique Password Creation
Supported browsers
The National Pandemic Flu Service (NPFS) Admin Application has four areas of functionality which are as follows:
Each of these are described in sections below.
Open this link to access the NPFS Admin Portal www.nationalpandemicfluservice.nhs.uk/admin. It may be advisable to create a bookmark if you will access the application frequently.
At any time you can safely use the training system to become familiar with the functions of the live system. Any actions you take will not be reflected in the live system and you will have no impact on services or patients. training.nationalpandemicfluservice.nhs.uk/admin
The following roles have access to the admin portal:
Enter your unique Username and Password. These will be supplied by your Team Leader.
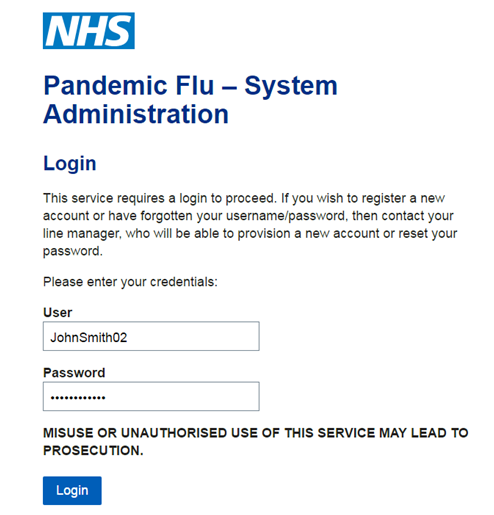
Your password must be changed at the first login. Full instructions are provided later in this guide.
Your account will be locked out after 3 unsuccessful login attempts. Your Team Leader will need to reset.
In order to discourage easy-to-guess passwords, the new password must either be a passphrase (preferred) or it should meet the following complexity requirements:
The password must be at least 10 characters long.
The password must contain at least one uppercase letter.
The password must contain at least one number.
The password must contain at least one special character (such as !,?,@,#,$,%,&,* and +)
A table showing a full list of special characters can be found at the following location:
You may have multiple roles available. Select the most appropriate role for the tasks that you need to complete.
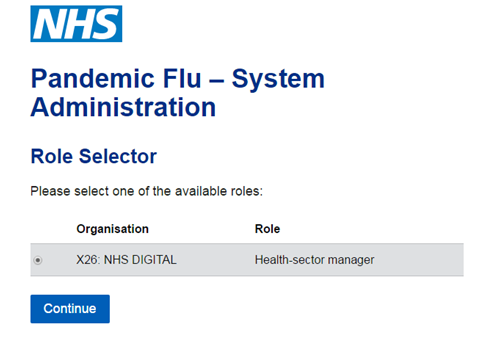
You may also have the same roles multiple times but with different orgaanisation codes. e.g a User may have Area Team Administartor roles covering organisation codes Q70,Q71 and Q72. The User should select the area where the majority of accounts are to be created but this will prevent roles being created in the other areas the user has permission for.
Your Session - Confirms the username and role you are currently logged in as, as well as your login time and role once you have selected it.
Logout - Displayed on all screens, click here to logout of system
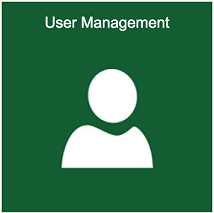
To create a new user select User Management icon from the admin portal main screen.
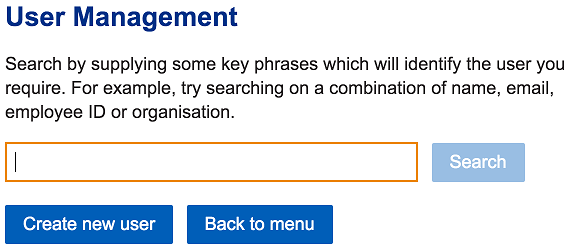
Click Create new user
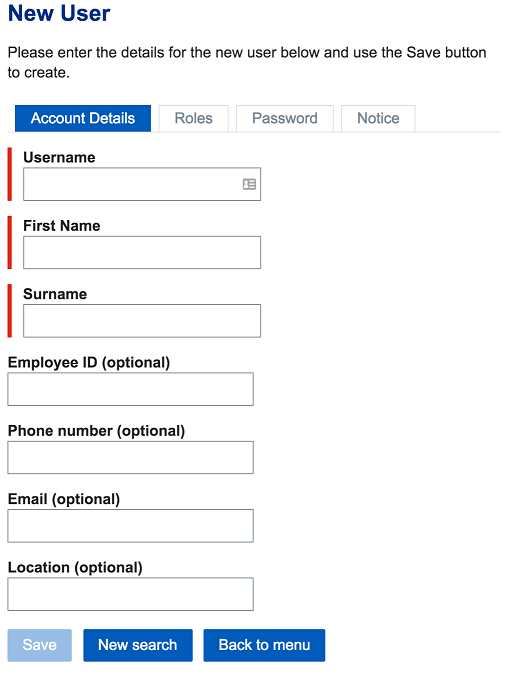
Complete necessary account details (Username, First Name, Surname, etc.) on Account Details tab. While some fields are marked optional it is recommended all are populated on the account details Tab.
It should be noted that if the First Name or Surname are double barrelled then the second name after the hyphen will be shown lower case.
It should be noted when creating a new user only a single account needs to be created which can have several different roles allocated against it. There is no need to create multiple Usernames for the same individual.
When creating a Username it should be the users First and Second name, separated by a “.” With capitals at the start of each name. eg: Fred.Olsen. Should the username already exist, then a number will need to be added to the end to make the username unique e.g.: Fred.Olsen02 etc.
Select a role / roles to add using Roles tab - setting start and end date of role if known
Enter a Temporary Password for the account using the Password tab. These password should be created following the Create Unique Password procedure as described in these training notres
SCAS are responsible for the distribution of passwords and account details, making use of secure nhs.net e-mails to transfer.
All tabs that contain mandatory fields must be completed before save button is enabled
NHS Digital DevOps team will create SCAS Command and Control admin accounts so SCAS can create necessary users.
Select User Management in the Admin home screen
You can search for all subordinates you manage by entering some of their details in the search bar and clicking on the *Search button.
Search works on name, surname, username or organisation.
Select the user whose account you wish to change / manage using the radio button on screen
Click Continue
Only users set-up as your subordinates are manageable by you, you cannot edit your own permissions or those of people whose accounts you do not manage
There is a known issue with early versions of IE11 where if you search for a user and multiple matches are returned only the first can be selected.
This issue only affects IE11 versions before 11.413.15063.0 (11.0.44 KB4025252).
If affected by this issue the user is advised to either upgrade to a later version of IE11 or alternatively switch to a different browser.
Select Account Details Tab
The selected users account details are displayed
Here you can edit any of these details, then click on save.
If a pop-up notice is to be shown to the user will see every time they log on to the system (e.g. could link to a policy document / reminder of a specific working practice) this should be entered on the Notices Tab.This is a free text field so can you can decide whether you wish to use this feature or not.
The roles and access of subordinates can be managed via selecting the Roles Tab associated with that User.
Here you can add or remove roles for a person you manage.
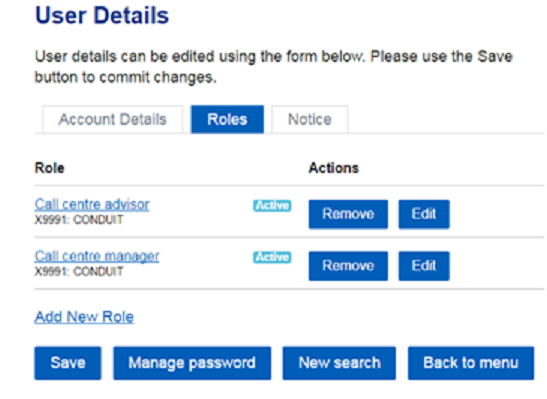
Selecting Edit allows the active and close dates associated with a role to be changed.
To add a new role select Add New Role and then select the role you wish to add from the drop down list and complete the required details. Once you click on save this will be immediately added to your subordinates list of available roles.
A users password can either be reset to a temporary value or two-factor authentication can be enable.
If a subordinate has forgotten their password you will need to carry out a password reset
The manager would need enter the username or details of the subordinate and select search to retrieve their account. The manager should then select the correct account from the search results returned and select Continue.
Select Reset Password and enter a Temporary Password by following the Create Unique Passwords procedure.
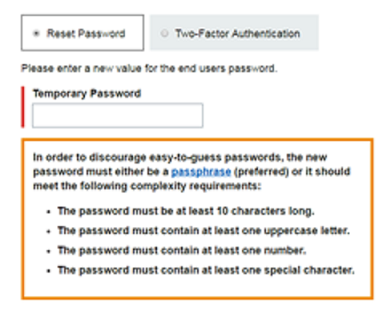
Click Submit to complete the reset
You must inform the subordinate of the reset password in a secure manner
SCAS are responsible for the distribution of passwords and account details, making use of secure nhs.net e-mails to transfer SCAS to advise of appropriate channels for communicating new passwords (i.e. not email)
Two-Factor Authentication can be set up for any user by their manager.
It creates a safe login mechanism (instead of a fixed password) which requires a user to enter a set PIN + a 6 digit code generated by the Authentication Application.
User will need to ensure they have an Authenticator App installed on their smart phone - search for “Google Authenticator” in the relevant application store for their smartphone (Apple / Andriod / etc.)
On selection of Two-Factor Authentication you will be provided with the following screen where the user will be required to create a 20 character secret key and 4 digit pin number
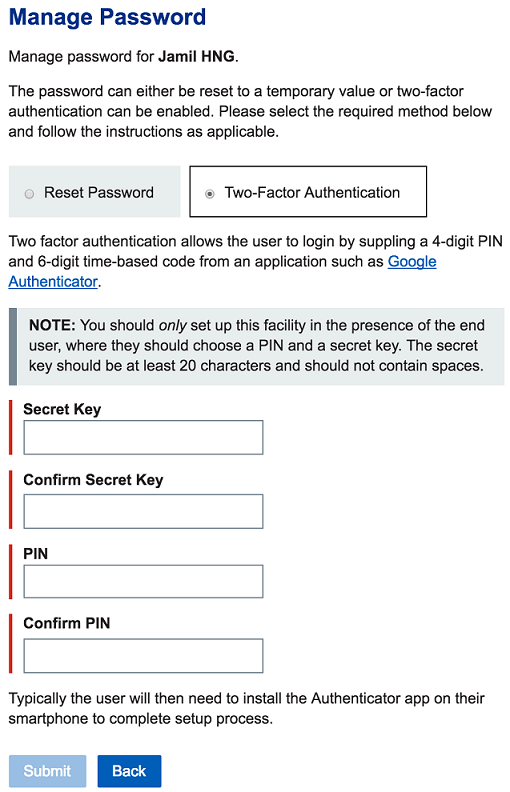
You must ensure the user whose account you are editing is with you and inputs their own Secret Key and PIN.
After entering the data and pressing Submit
A QR code and a key will be presented to the user
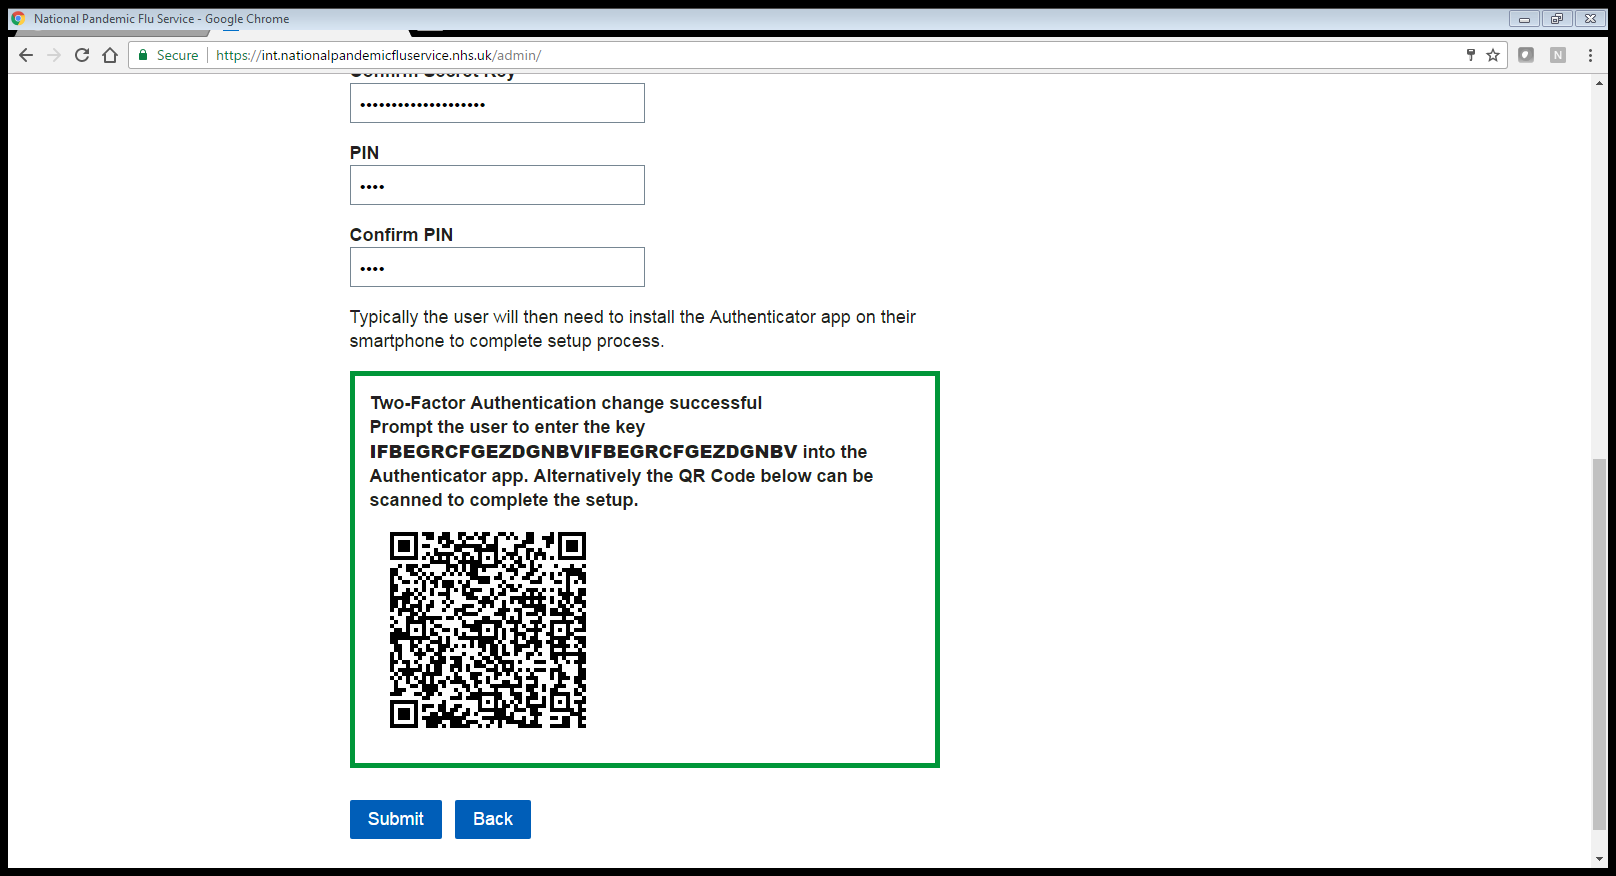
On the Authentication App on the phone select Begin Setup
Then either Scan the barcode with a QR reader or enter the key provided to complete set-up.
A message will be presented that 2-factor verification had been succesful and a 6 digit code will be generated in the Authenticator App.
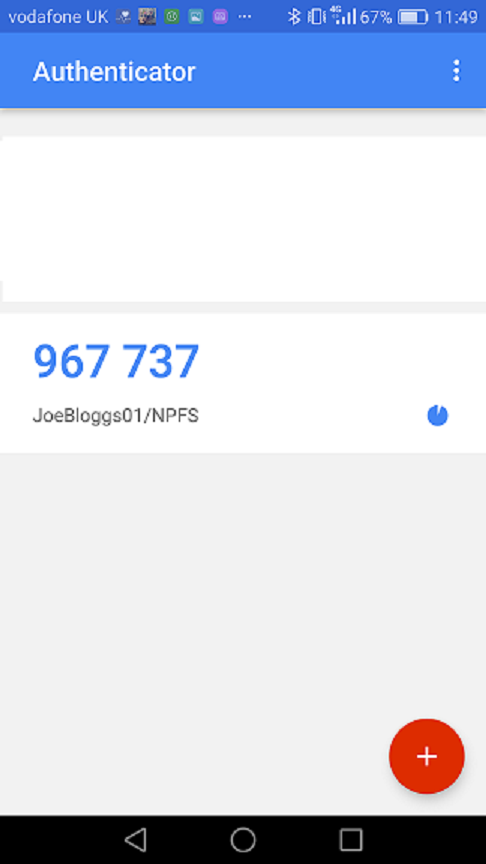
When the user logs in with 2 factor verification enabled the should enter their username and in the password field they should enter a 10 digits which are the 4 digit Pin + 6 digits generated by Authenticator App (instead of a password).
The code from the Authenticator App is only valid for a short period of time and will be refreshed so the current displayed code must be entered at time of login.
This allows a large number of users to be created via a data file upload.
The list of users and their details should be created as a comma-separated value file with one line per record.
The fields and format of the data to be included in the file together with an example are shown on the Bulk User upload page in the admin portal.
Instruction and required fields for a bulk upload CSV are stated on the page.
Accounts that you create using this function will be added immediately for you to manage.
Select Template to download the template to ensure correct format is used.
SCAS to insert guidance on distribution of account details to subordinates
A maximum of 1,000 user accounts can be created per csv file
Use the Browse button to locate your saved .CSV file
Click Upload File to carry out the Bulk Load
A message box will appear to confirm the results of the bulk load
Any errors will be identified here, along with the cause of the failure
An example failure record is shown here
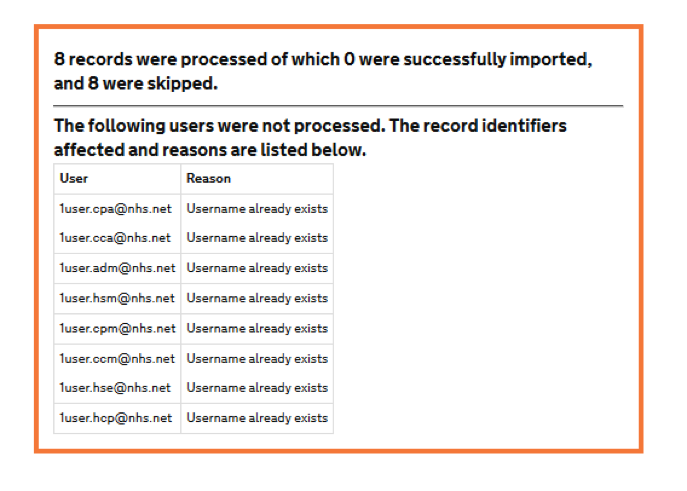
It should noted that if you upload users with roles that you do not have permission to create they will not be processed and you will receive the following error message


This is where the Collection Point information is managed (i.e. active collection points and their associated details)
This element of the Admin Portal is restricted to very limited, high privileged users from the Command & Control and NHS Digital DevOps teams
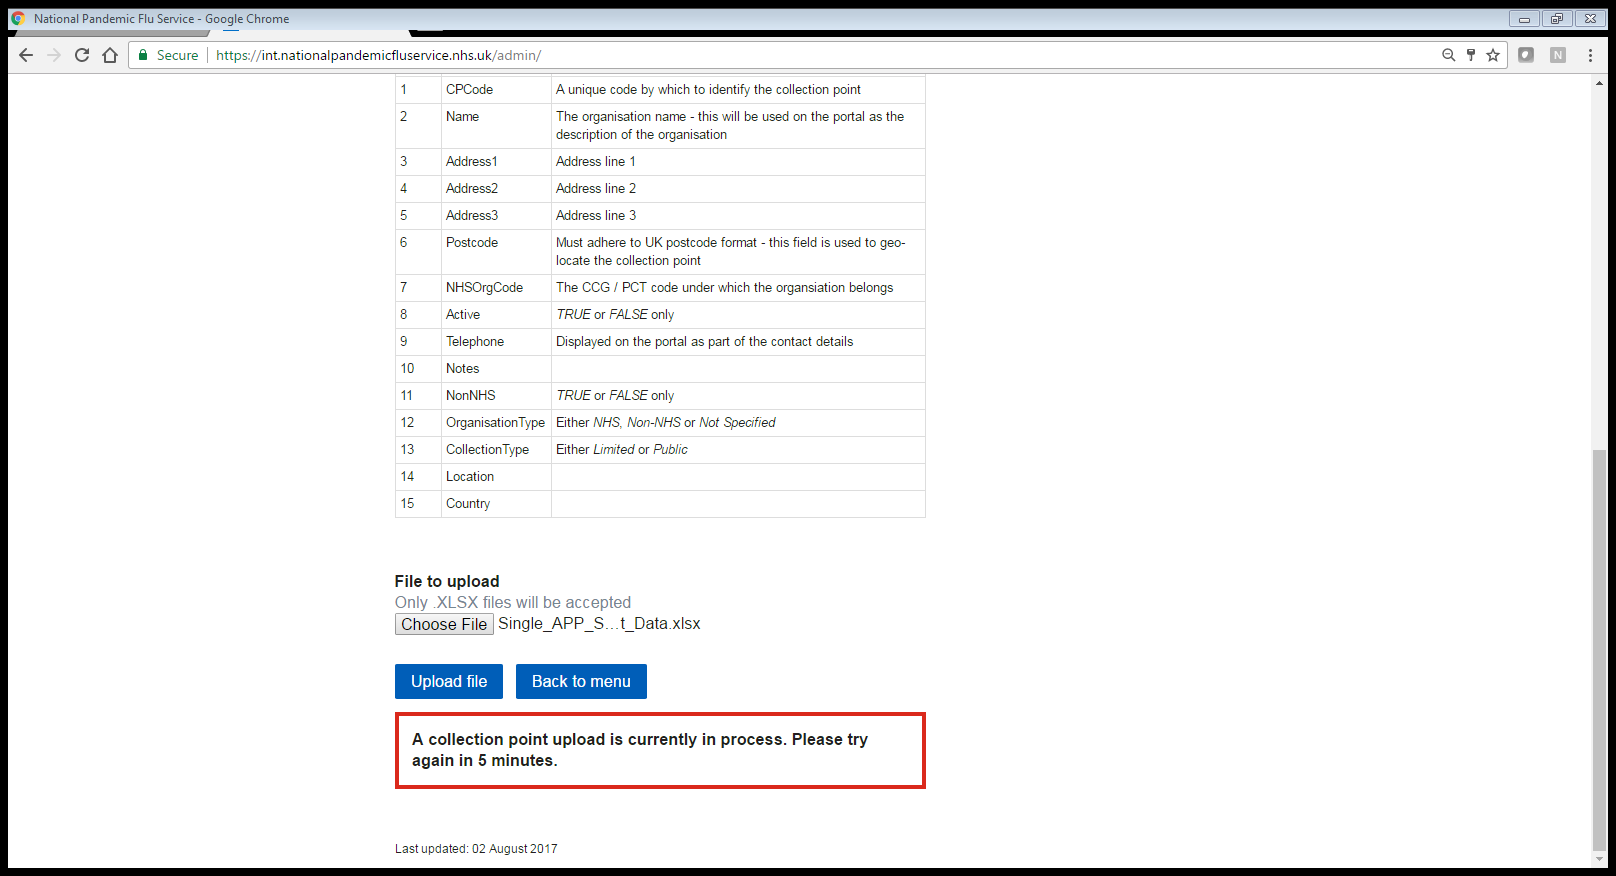
Collection Point Data is loaded via a CSV excel file(.xslx)
The file contains two worksheets:
The full definition of ecah field in the file can be seen on the clooection point upload page
This file is expected to be provided via CPAS in the above format.
Use the Browse button to locate your saved excel (.xsls) file
Click Upload File to carry out the Collection Point upload.
If everything is satifactory you will see a message **File Transferred Successfully”
If you try to upload a collection point file whilst a previous file is still being processed then you will receive an error message and instructed to try the upload again after 5 Minutes.
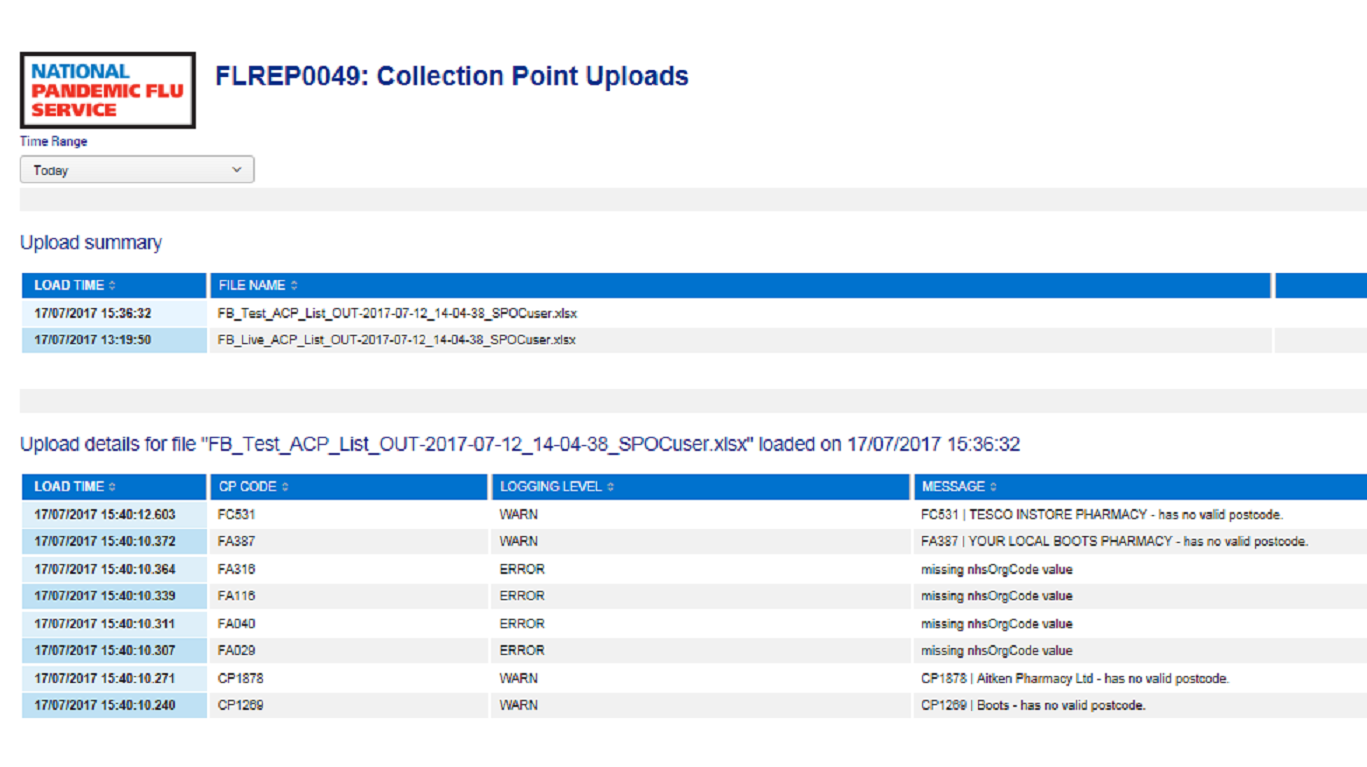
The details of any file upload can be seen by inspection FLREP0049. By selecting the file name details of any warnings or records skipped can be viewed.
This is where the configuration of the Portals within the NPFS encvironments including Live are managed. The following portals can be configured via the Environmantal Path deop down menu:
The following items can be configured for each Portal:
For each Portal their status can be set via a drop down box to either
The system can be configured to be available in any or all of the UK Countries
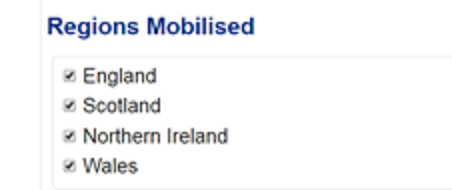
By delecting a country would mean that portal would not be available in that country.
The algorithm with the Citizen, Call Centre and HCP portals can be configured so that all patients that have flu symptoms are authorised with antiviral (treat all ) or a restricted subset (targetted). This selection can be made by UK Country.
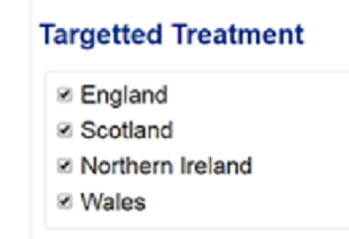
Deselecting a country means treat all will be implemented for that country
Note: Targetted treatment is associated with the clinical algorithm hence changing these setting on the issuance portal will have no impact on the operation of the portals.
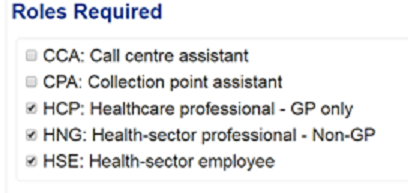
For each portal the roles that have access can be configured, This can be one or more roles e.g. HCP Portal
This allows the grey floaty box within the Call Centre and HCP Portal to be configured including showing answers, guidance etc plus the ability undo the last operation.
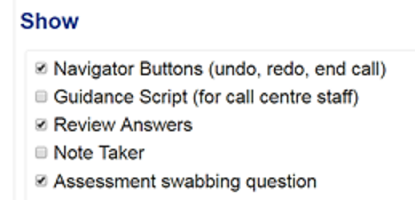
The gray box is not currently displayed in the citizen or issuance portal